Airport Tile Guide
This post is deprecated. Please check out the new Airport Tile Guide
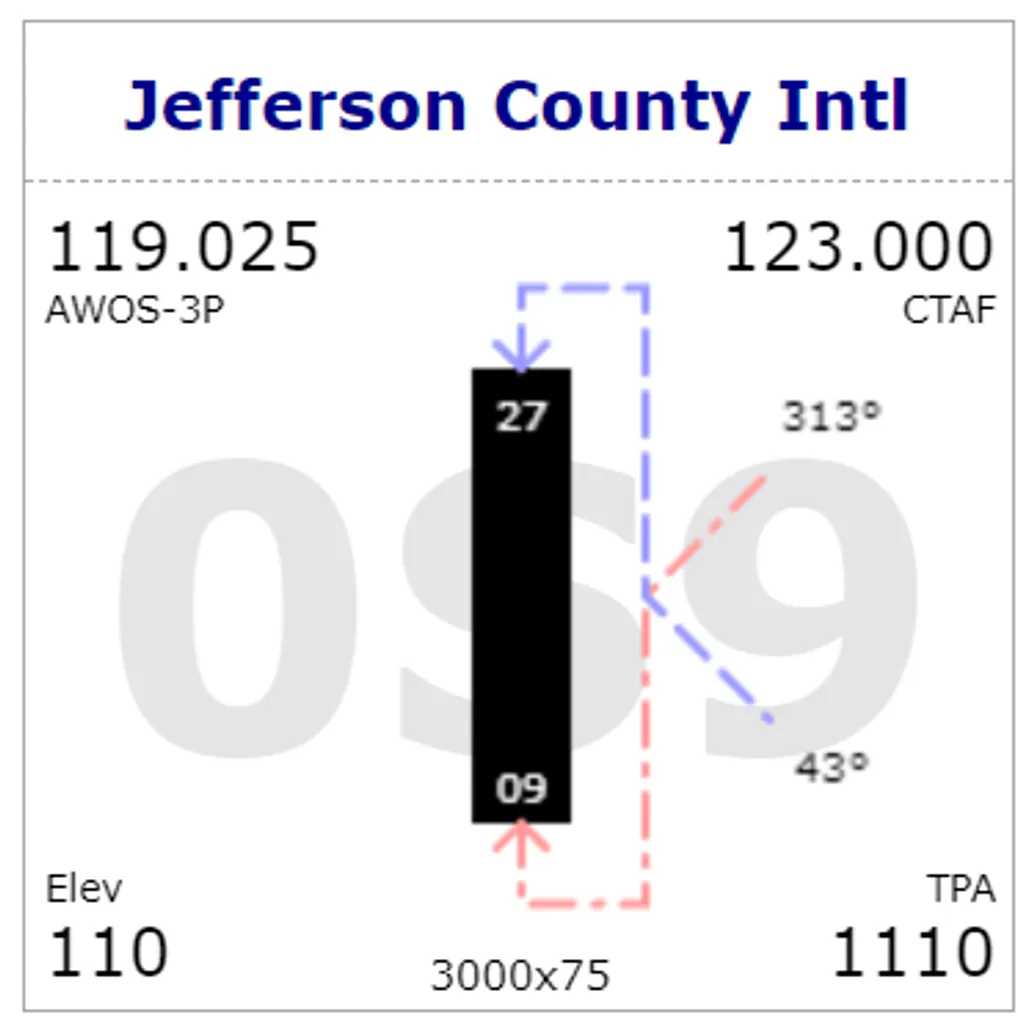
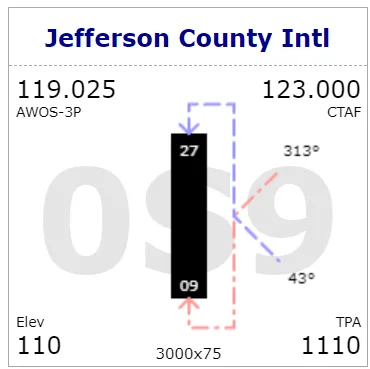
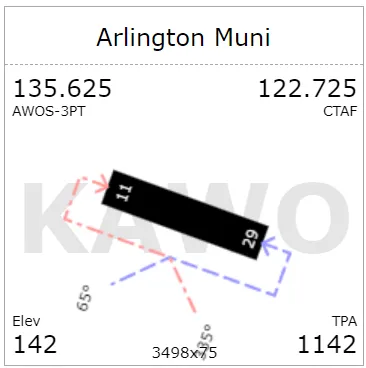
This tile is packing a lot of information. At glance, you can see runway orientations, traffic patterns, magnetic headings, basic airport information in the corners, runway dimensions and airport code in the watermark. Let’s configure it to make it useful for you. Click the tile header to switch to settings mode
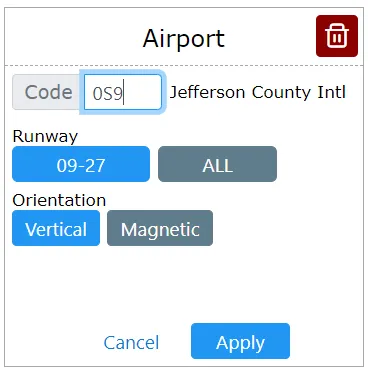
As you type the airport code, its name should show up along with the list of known runways. Let’s go to Arlington (KAWO) for example:
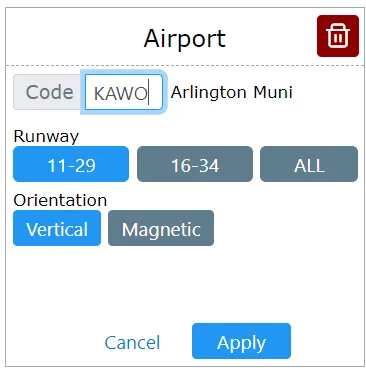
Before you click “Apply” you can select any individual runway or “ALL” which will not show the diagram but a list along with traffic patterns, length and frequency

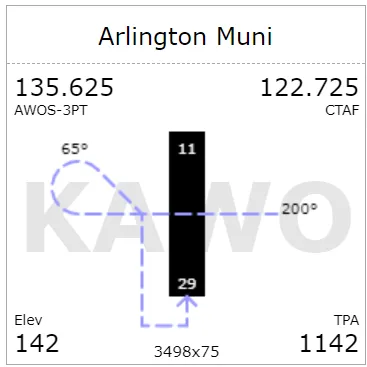
If you do select a runway, you can choose between “Vertical” and “Magnetic” visualization. Here is an example of 11-29 magnetic orientation:
Traffic patterns are displayed with colors. Blue means left and red mean right pattern. If you click on the runway, you can toggle between different pattern display modes. There are 5 modes to choose from. Just keep clicking to go through them in cycle. For example (going back to vertical mode), here is Rwy29 with a teardrop entry. Note the magnetic headings for each segment. You may want to overfly midfield with a heading of 200° and enter the 45° with a heading of 65° magnetic.
Now let’s have a look at corners data. You may want to configure these to match your preferences. When you click on a corner, the corner selection popup shows up
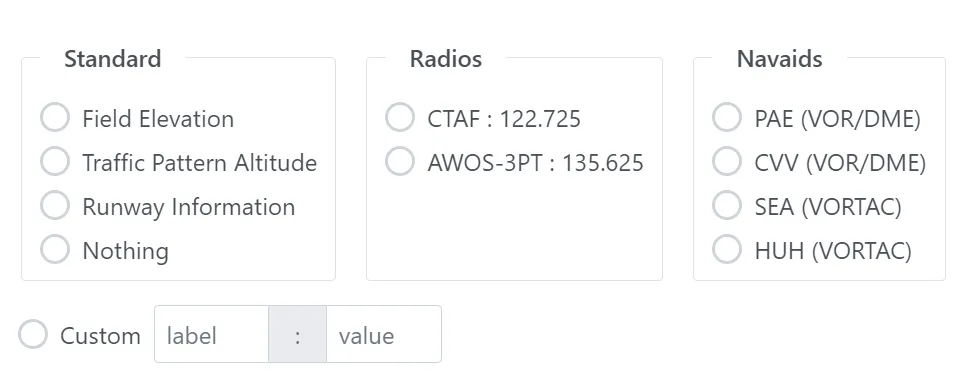
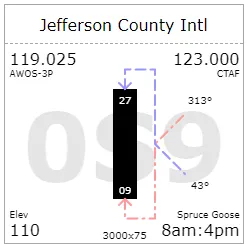
KAWO does not have many frequencies but some airports may have more Radio frequencies and Navaids. Pick anything relevant for each corner and if you don’t see want to want, just enter a custom value. Here for example, we have entered the airport diner hours
And this is it. Hopefully this allows you to fly with whatever information is relevant to your flight. If we are missing something, please let us know via the feedback feature.